Search 2.0

Sunday, July 15, 2012

Folk Art Quilt


About in the 80's I was watching Sewing with Nancy, she was showing how to make a lone star quilt. I decided I was gonna try to make one too. After I got the quilt top finished I didn't know what to do with it. So I bought a double size flat sheet, using  the sewing machine I proceeded to sew the quilt only to have a big jumble mess the quilt had a wow in it. In other words it didn't lie flat.
This is the 2nd quilt that I have completed. I am real happy with the way it turned out. I found the pattern in a book by Clare Kingslake, called Folk Quilt Applique. I love her work. I was truly inspired by her work.

I have now joined a quilting gathering, am learning what mistakes I had made with my first quilt.
to make an applique quilt I first drew the shapes onto freezer wrap, then the shapes were cut out and placed on the color materials which I had chosen for each item.

Using a dark thread I turn the edges under by hand, and put a running stitch in a dark color thread. After I press the material with a iron I remove  the tread.
Here are some bird cut outs ready to go on to the block of material.
At first I was pinning them into place, while I hand sewed them on, I didn't like the fact that those pins kept poking me...

So I discovered this stuff called wonder under transfer web, I cut little pieces on to the objects that needed  sewing, which eliminated having to use pins.
Here's a peek at the double sized quilt top before  quilting has begun.  My friend Pam showed me how to sandwich the quilt. First she took the bottom material laid it on a large table taped it down with masking tape , so it would be flat, and tight.  The batting was laid on top next, then finally the quilt top last.The quilting was done in a random pattern, using a hoop to keep it tight.
When the quilting is finished trim the quilt, square it off cutting away the unnecessary material and batting.  Cut material for the binding 2.5 inches wide. Iron in half, and again in half to frame the outside of the quilt. I sew one part to the front, and hand stitched the  the back part by hand.

This is the progress of the binding first the strip, then the folds ironed, then the end result, binding.
 The back side of the baby quilt. Happy sewing : )


Saturday, June 30, 2012

Knitted Felted Purse

This is  the first time I have tried to make a felted purse, I must admit that I like the feel, and look of felted purses. Besides the fact that they are strong, and light the shapes of the purse are as varied  as your mind dream.


The pattern called to make 2 sides, 2 bottoms, and 2 side panels.

 The bottom panels I did in different colors.  The side, and front measured 9.5 inches high, the bottom measured 7x20 inches square, the handles measured 25 inches,the width of the purse was 20 inches.

This was the result of felting.  It shrank too small, more of a clutch size.
Being this was my first time felting, I just put the purse in a pillow case, filled the washing machine with hot water, and a squirt of dish soap. I let the washing machine agitate for 20 minutes before I checked my  purse, it was too late. I tried to pull it larger without success.
The size of the purse is 16 inches wide, 5 inches high, the bottom 3x16 inches square, the handles 18 inches. I'm going back to the drawing board...

So I bought more yarn, and decided to knit a round piece that I can sew into the clutch size purse, to enlarge it.
This is what it looked like after I cut the clutch in 2, and sewed the middle piece on. I had a piece left over so not to wasted I made  a small purse.
By laying brightly colored roving in round shapes. Take a empty bottle  dish soap fill with hot water, squirt a bit of dish soap. It should feel real soapy between your fingers. Dribble a generous amount of soapy mixture on top of felt, and roving.Wrap in bubble wrap tie ends together, rolling back and forth. and forth until the roving sticks to the felt piece.
You can see how the roving has intertwined with the felt piece, rinse allow to dry.
I added glass beads, and a large button.
This purse I felted with a felting needle, laying the roving in shapes of flowers, and leaves. The inside of the purse was lined with cotton fabric, and I sewed 2 pockets on each side.

This is a close up of the decorations on the purse, I added glass beads, and embroidered around the felted roving, I really learned a lot from this purse, and it was so much fun : )

Friday, June 1, 2012

Stuffed Chicken Breasts


I have a new way to spice up chicken breasts. What I like about this recipe is that the white meat stays moist, and tender.


Ingredients:
6 Chicken breasts with skin
6 oz ricotta cheese
1 tablespoon Italian seasoning
1 teaspoon salt
1 egg
1 cup of Swiss chard fresh, or  if you can't find it spinach
1/2 cup  shredded mozzarella cheese
1 medium onion chopped
Vegetable spray
Montreal season
In a pan saute the onions, in a tablespoon of butter until the onion is translucent, add the Swiss chard until it wilts remove from stove.


 In large bowl place cooked Swiss chard mixture, egg, ricotta cheese, mozzarella, Italian seasonings , and salt.  Mix well this will be the stuffing for the chicken.
Rinse chicken, pat dry with paper towel, season with salt, even lift chicken skin up, and salt there also.

 Stuff the cheese, and vegetable mixture under the skin. Place in a baking dish sprayed with vegetable spray this will keep the chicken from sticking, easier clean up.  Sprinkle Montreal seasonings on top of chicken skin.  Bake in pre heated  oven at 350 degrees for 30 minutes.  I like to serve this with potato salad, and salad. Enjoy.

Friday, May 18, 2012

China Silk Painting


Silk China Painting is a free style art form, very relaxing project, it can't be messed up.

Supplies:
100 % silk scarf (Jo Ann's or Amazon on line carry the scarfs )
Dye-na-flow paints made by Jacquard are sold on Amazon.com also
Spray bottle filled with water
Small child rubber bands
7 Styrofoam cups
Tray to catch drips
Rubber gloves optional
Iron


Grab a dime size piece of material, twist, place rubber band around it. Pick 7 spots on the scarf, and repeat 6 more times make sure to stagger the positions on the scarf for a more natural effect.


Place the rubber banded  buttons of material on top of a Styrofoam  cu which has been inverted upside down. One cup per button. Arrange on a tray, to catch paint, and water because it will flow.

Place a drop of the color yellow on the tip of the button of material, allow to dry for 15 minutes or use a blow dryer to speed up the process. When applying the next color leave a space of white between the 2 colors.

To achieve a softer looking flower spray water on the edges of the flowers. The colors chosen on some of the flowers were red, orange, blue, and purple. You want the colors to fall in the valleys of the cups. The buttons on top of the cups make this work. Place the color green in the valley of the cloth, and again spray water to give the greenery a softer look.

Here is a group of happy painters : )


Monday, April 30, 2012

Baby Shower Ideas

I have 2 wonderful nieces that are expecting babies at relatively the same time. Since we didn't know the sex of the babies I was looking for a theme that would incorporate both a girl, and a boy. I stayed with yellow, green, blue, red for the color palette. I decided to go with a jungle animal theme.

I made 2 diaper cakes for each of the nieces using animals that I had sewn, or purchased. Walmart carries  cute cloth rattles.

Made onesies  sugar cookies : )
Sunny yellow with happy poka dots.
I also to decided to make cupcakes instead of a big huge cake. My thinking was the left overs would be easier to store. I put a small 6 inch cake on top for the theme of the baby shower. Carrot cake with cream  cheese frosting, covered with homemade fondant.
The characters are made from the fondant, it is difficult to work with next time I will use sugar paste. My niece Summer was still expecting, so I made her holding her big tummy. Tammy had delivered her son by the time of the baby shower.

Food was set up cafeteria style.

The happy mothers : )

Tuesday, April 24, 2012

Cinnamon Rolls

Cinnamon rolls are so good when they are warm, right out of the oven. The smell  that fills the air is so comforting on a cold morning like today.
 The recipe for the dough will be sticky.When rolling the dough I recommend using a steel dough cutter, or metal spatula for lifting the dough from the counter. I also recommend a tin pan for baking the rolls it helps to keep the dough from getting too crispy. Flour brands do make a difference, when I bake with inferior brands I am always disappointed, I highly recommend  King Arthur Four.

Ingredients:
1 cup milk scalded
1/2  cup shortening
1 cup water
1 1/2  tablespoon yeast
2 beaten eggs
1/2 cup sugar
1  1/2 teaspoon salt
1/2  teaspoon  ground nutmeg
5 1/2 bread flour
Filling
1/2 cup melted butter
1 cup brown sugar
4 teaspoons cinnamon
Frosting
8 oz cream cheese
1/2 cup butter soften
3 cups powdered sugar
1 teaspoon vanilla
1  tablespoon milk
In a small pan scald 1 cup of milk and 1/2 cup shortening. It  should be warm to the touch, the shortening will not melt all the way, it  will just start to melt. Remove from stove.


In one bowl add 1/2 cup of warm water, 1 1/2 tablespoon yeast, mix well set to the side. Then in the other bowl beat 2 eggs, there's 2 reasons I do that. 1 is to make sure the egg is good, 2 is to make sure I don't  put the egg shell into the recipe : )
Pour the warm milk mixture, with the eggs, and yeast  mixture, to this also add  1/2 cup water, 1/2 cup sugar
1 1/2 teaspoon salt,  and  1/2 teaspoon ground nutmeg mix well. Then add 5 1/2 cups bread flour beat till smooth. The dough will start to climb the dough hook, the consistency will be sticky.  Remove the dough, place in a greased bowl.
Take your hand, lift edges  into the center until dough resembles picture, this helps the dough roll out more even later in the process.
Before placing the plastic wrap spray it with Pam nonstick, this helps the plastic wrap from sticking to the  dough. Let rise till doubled about 2 hours.

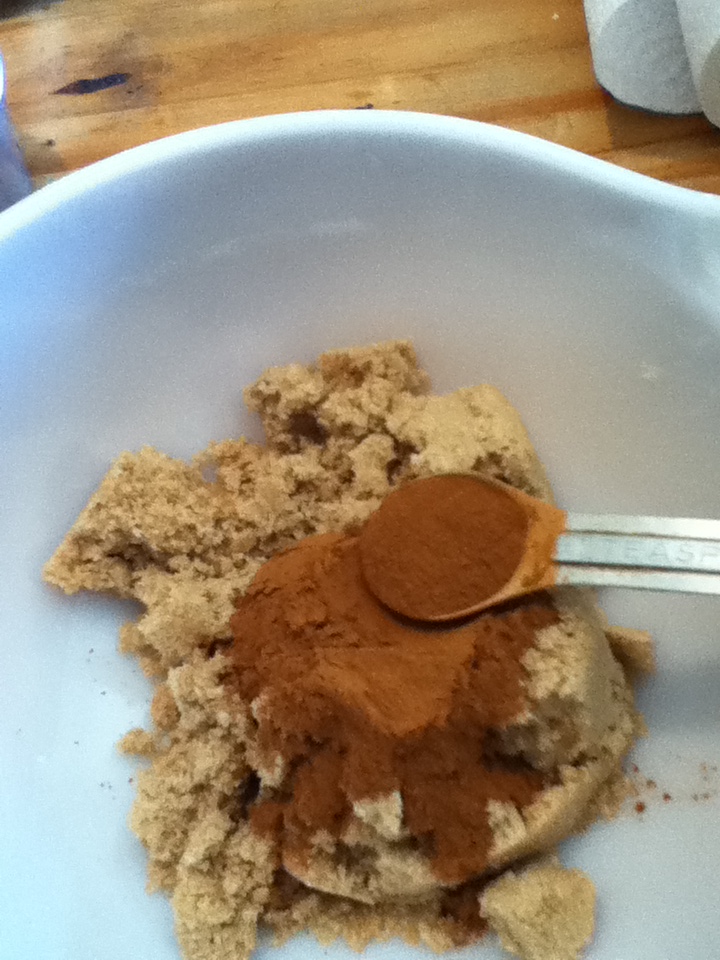
To make filling place 1 cup brown sugar, 4 teaspoons cinnamon in small bowl mix well set to the side.
Roll dough out on well floured surface.

Roll out 13 x 28 inches. Spread melted butter on the dough.

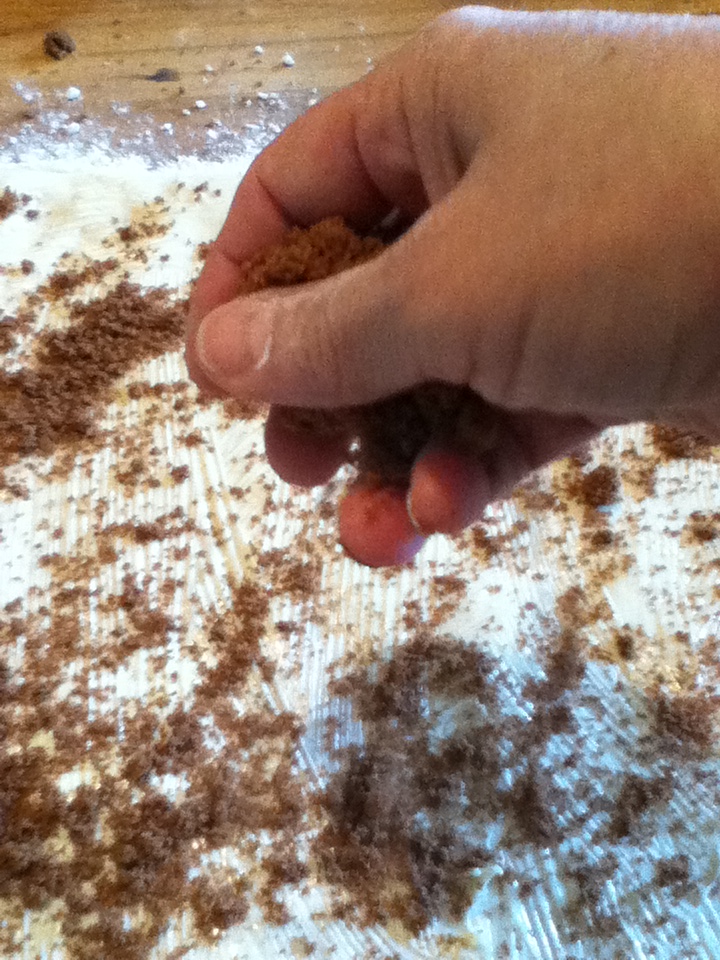
Sprinkle brown sugar , and cinnamon topping.

Roll into tube shape using the dough cutter, or spatula if you don't own a dough cutter.
Cover with plastic wrap let rise till doubled.

After dough rises, brush tops with melted butter before placing in oven to bake. preheat oven to 325 degrees, and bake for 25 minutes or until  slightly golden like in photo.


To make cheese cream topping place  1/2 cup soften butter, 8 oz  cream cheese, mix well until fluffy. Add 1 teaspoon vanilla, 3 cups of powdered sugar. Blend the powdered sugar slowly because it will make a mess other wise.Add 1 tablespoon of milk.


Spread over the rolls, and enjoy : )