Search 2.0

Showing posts with label Diy. Show all posts

Sunday, January 22, 2012

Diy Children's Dresser Redo

This is the latest project that has been keeping me busy. My granddaughters had this dresser, which needed  a serious make over before we could place it in their bedroom, the paint was peeling, with pot marks, the drawers had to be re-glued, and aligned.
Since the girls love pink, and purple, we went with a dessert theme drawing. It has cupcakes, a slice of cake, and  sugar cookies. See some of my other diy projects,baby chair , coffee tablewall painting.
The stripes were added to ground the drawing, I disguised the unevenness of the wood with friendly poky dots in the purples, and pinks.  The cookies have little candy sprinkles on them.
I wished the before pictures would have turned out, so you could see the difference.

Monday, January 9, 2012

Doll House DIY

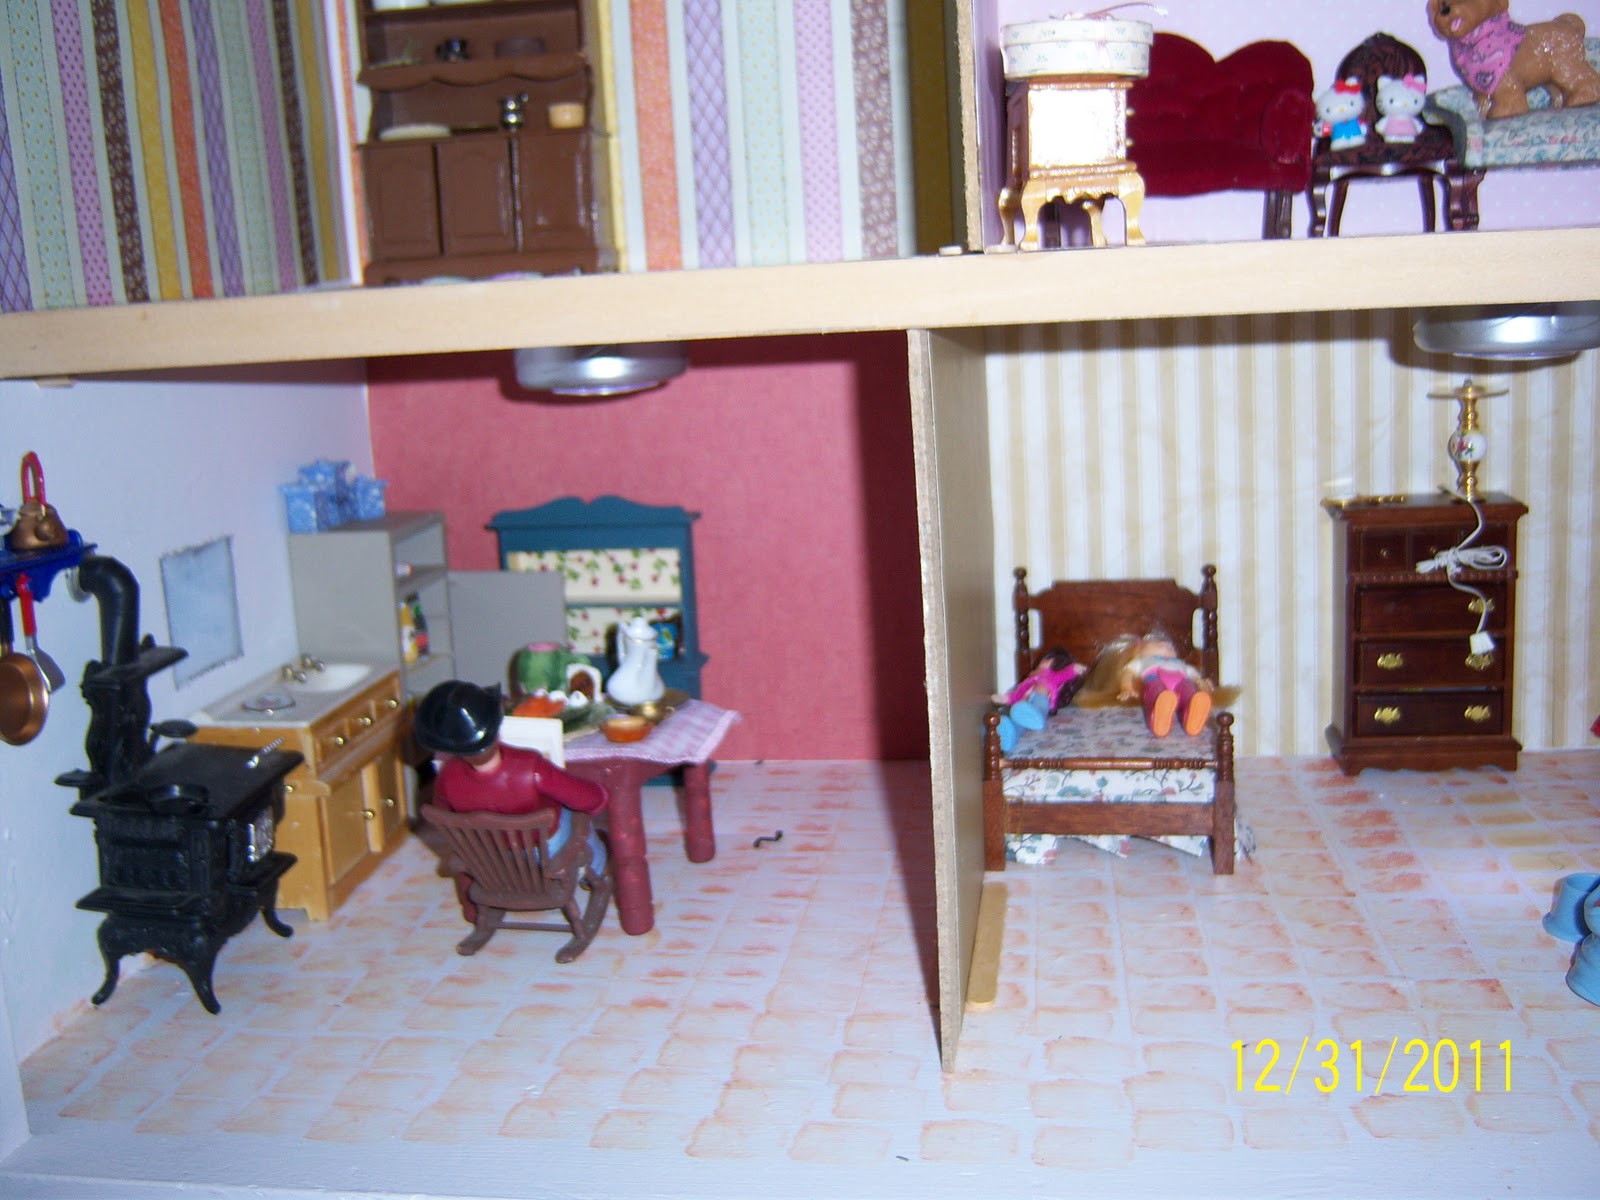
This is the year my granddaughters are old enough to have real doll house furniture, and miniatures to play with. I have kept this furniture in good condition over the years in hopes of passing it on to my granddaughters.
Checking on the prices of doll houses, I thought making one would be more cost effective. I scoured around seeing what shelving I already had which would make a good doll house. This doll house can be kept on the side of the wall not taking up too much room, since the shelf is sturdy.
My daughter-in-law had this beat up child's chipboard dresser set.

I talked my husband into helping me, by cutting the top part of the dresser off the rest of the drawers.He also added , 3/4 inch ply wood boards for the different floors levels, also putting divides vertically to make the walls. Repainted the cupboard in the lightest pink hue. 
  I decided to paint the floors, in faux stones. Using a piece of sponge cut into small squares. Dipping it into  paint, then outlining the sides with shading.
Instead of painting walls I purchased stock card paper in different designs, and used it as wall paper. Using rubber cement to glue down to the floors, and walls, this way it would not bubble the paper. It also allows for readjusting the paper if necessary.

The windows were not cut out of the sides since our wood working tools were limited, I painted on the out side faux windows, and on the inside I put curtains up on the wall. The ceilings are equipped with the portable battery operated stick em lights, to give enough light to play.

They are enjoying their new doll house, and furnishings.

Monday, May 23, 2011

Portable Window Greenhouse


What do you do with your old windows? We replaced our windows in our home, couldn't bare to throw out those beautiful drafty windows.
 There was a lot of craftsmanship that went into those wooden frames. It's a green idea to reuse old things, and give it a new lease on life.
Here's an idea make a portable window greenhouse.

I like the way it looks in the front yard. Very shabby sheik, I'm thinking of hanging some flowers in it. What do you think of this idea?

Thursday, March 17, 2011

DIY Window Covers for Odd Shaped Windows

 Have you ever been stumped by how to cover odd shaped windows?  I would say this is a do it yourself project.  The windows in the living room are odd shaped,with an uneven ceiling
. In the summer the light pours in those windows like a beacon. Not only is it extremely bright, but also hot.  The way to help take a handle on my energy costs  I came up with a homemade inexpensive way to cover those windows, and save money.

I didn't want to hang curtains above the Roman shades below, because the ceiling was not straight. I would have had to hang the curtains on a slant. I couldn't use those paper covers because of the shape of the windows.. My daughter-in-law suggested that I make cardboard cover ups with cloth, that would sit inside the frames.
Supplies

  1. white copy paper
  2. large cardboard boxes
  3. glue gun
  4. material your choice of color for inside window
  5. white material for out side of window
  6. scissors
  7. utility knife
  8. pins:


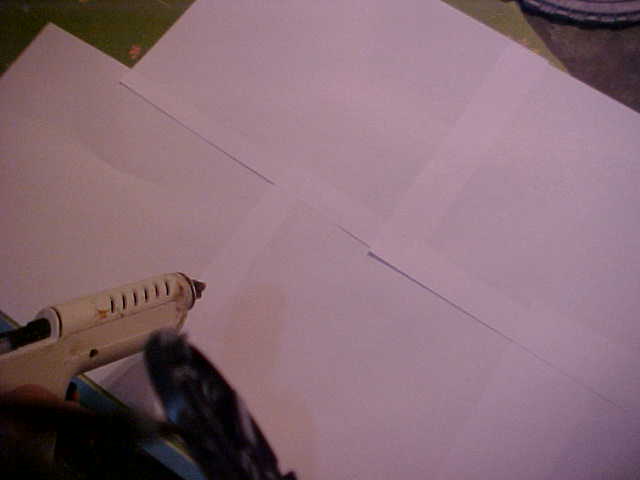
First I had to figure out how to make a pattern. I came up with gluing white copy  paper together with the glue gun. I made the size of the sheets glued together a little larger than the windows.


I placed the paper over the opening of the window. Using a small pencil I traced inside the window, with one hand while holding the paper with the other.


This is what the paper looked like after I pulled it off the window.


Then I cut out around the pencil tracing as shown in the diagram.


Then I went back, and placed it in the window, to make sure that it fit properly. It did fit as you can see.


Cut the cardboard using the pattern. Place the pattern on top of large piece of cardboard. Using a marker draw shape onto board. Use utility knife to cut out the shape. Place over window to see if it fits good. If it needs small amounts of trimming do it at this time.


Place white material over cardboard shape. Using glue gun. paste white material over edges of cardboard. The white material will show on the outside of the windows.


Do the same for the front side of the window using pattern material that side will show on the inside of the house, where the white side will show on the outside of the house.


Then I glued the unfinished side butting them together, to where the fabric side are showing. Place them in the window. You may want to hot glue them to the metal casing if necessary. Hot glue holds well, but will peal off
when you need it to come off.
Also see my kitchen redo on the cheap , and kitchen cabinet spice drawer

Monday, April 19, 2010

My Kitchen Redo on the Cheap

Since I have a small kitchen, and do a lot of cooking. I came up with low cost methods of redoing my kitchen  cheap..


 First of all I got rid of our kitchen table. Made a kitchen island instead. Where we could sit on one side, and store dishes on the other side. I had an old work bench out in the garage, that we converted into a kitchen island. Notice the table was laid to hang over one side of the cupboards to have an area for sitting.

The back side was ugly, and also to unify the look, we covered it with bead board, I really like that stuff it
goes well with our cape cod style home. I painted the bead board white, so it made it appear larger.


The front I painted a barn red, to match the one red wall that I painted in the kitchen.


We purchased a oak table that we found on clearance, ripped off the bottom portion, and glued it to the cabinet top with liquid nails.


Found some chairs at the thrift store,which fit perfect under neath the bottom of the island.
Since I like to paint I reworked the stools also.


The bottom of the islands  holds my baking supplies very nicely.


My top cabinet doors did not match the bottoms. We priced the doors at a discount chain store at a hundred dollars a piece. My solution was to take the doors off and I saved big on this redo.I guess the other bonus is that it forces me to keep organized.


I purchased a metal rack, to organize my large bowls.


My husband put a shelf above our slide glass door .Where I can put some of my decorations for the  kitchen, as you can see I'm partial to gingerbread men.


I still have the rest of the chairs to paint. What do you think of my kitchen redo. I bet you might be able to implement some of these ideas too.

Sunday, April 18, 2010

New Spice Drawer

I wanted to come up with a way to organize all my spices.Has it ever happen to you, that you purchase a spice that you thought you needed when you already had it?
 Since I love to cook,I have more spices than the average cook.  I find it very frustrating when I can not find a particular spice.
. My husband Toby came up with a clever idea for organizing my spices. It was a low cost method. He took one of my drawers, and added some sticks 1x1's the length of the draw.
See also My kitchen redo on the cheap


See now I can find my spices, I have several of these drawers. The sticks raise the spices up so at a glance I can find what I need.