Today I felt inspired to go into my happy place by making some thing cute... There's a lot of drama going on out there in our world, the war of negative words , and thoughts. Therefore I choose not to participate. I will be grateful, and see God bigger than the woes, and surround my self with as much beauty as I can.
Supplies:
Size G crochet hook
1 skein tan, pink or your color choice yarn
Assorted glass beads
Yarn scraps
Felt squares in brown, yellow, pink or white
Beading needle
Thread in matching colors, or clear thread
Small pom poms in red color
Scissors
Size 2 double pointed knitting needles
Cut felt in half long length wise.
I used my yarn scraps to fill the center, you can also use fiber filling.
Fold in half, roll the strip in a staggered motion, so the top is elevated. It should look like a miniature hill. Attach the second strip on to the first and continue rolling. See picture.
Tack the felted cupcake by sewing a stitch to secure it.
The bottom of the cupcake will be uneven trim off about 1 inch to level the cupcake flat.
The bottom looks like this after it has been trimmed even.
To make the knitted cupcake paper. Cast on 40 stitches onto 4 double pointed needles, placing 10 stitches on each needle. Connect stitches into the round to make one continued row.
Row 1: k2, p2 until cup measures 1 1/2 inches. Bind off, and prepare to make bottom.
To make bottom of cupcake cup.This part will be crocheted. Chain 4 slip stitch to connect. Add 3 chains this will be the first double crochet. Row 1: 12 double crochet will be done in the donut hole. Row 2 double crochet in every single double crochet from previous row. The circle should lay flat, as in picture.
Leave a 8 inch tail of yarn so to be able to sew the circle onto the knitted cup part.
Sew beads randomly with thread.
Finished felt knitted cupcake pincushion, my granddaughters like to add these tasty treats to the rest of their felt food collection.
Search 2.0
Sunday, March 4, 2012
Sunday, February 19, 2012
Knitted Camisole
Since I'm away from the home front, I am limited to what crafts travel well. I brought my knitting supplies with me, and am eager to put them to good use creating.
While at my favorite book store Barns and Noble I ran across this silk camisole pattern in Joelle Hoverson book.
The front has a delicate v neck.
The bottom is lacy.
Sunday, January 22, 2012
Knitted Wedding Beaded Clutch Purse
I have been working on this clutch beaded bag for several months now: ) I love the sparkle of beads, I can see a bride carrying this shiny beaded clutch purse with her on her special day. I have other ideas for my next clutch.
The inside is double lined with a silky clear patterned material over a solid white.
Here is some more of the other styles of beaded purses.
Diy Children's Dresser Redo
This is the latest project that has been keeping me busy. My granddaughters had this dresser, which needed a serious make over before we could place it in their bedroom, the paint was peeling, with pot marks, the drawers had to be re-glued, and aligned.
Since the girls love pink, and purple, we went with a dessert theme drawing. It has cupcakes, a slice of cake, and sugar cookies. See some of my other diy projects,baby chair , coffee table, wall painting.
The stripes were added to ground the drawing, I disguised the unevenness of the wood with friendly poky dots in the purples, and pinks. The cookies have little candy sprinkles on them.
I wished the before pictures would have turned out, so you could see the difference.
Since the girls love pink, and purple, we went with a dessert theme drawing. It has cupcakes, a slice of cake, and sugar cookies. See some of my other diy projects,baby chair , coffee table, wall painting.
The stripes were added to ground the drawing, I disguised the unevenness of the wood with friendly poky dots in the purples, and pinks. The cookies have little candy sprinkles on them.
I wished the before pictures would have turned out, so you could see the difference.
Monday, January 9, 2012
Decorative Wall Paintings
Max and Ruby for Bianca's and Marisa's room.
Doll House DIY
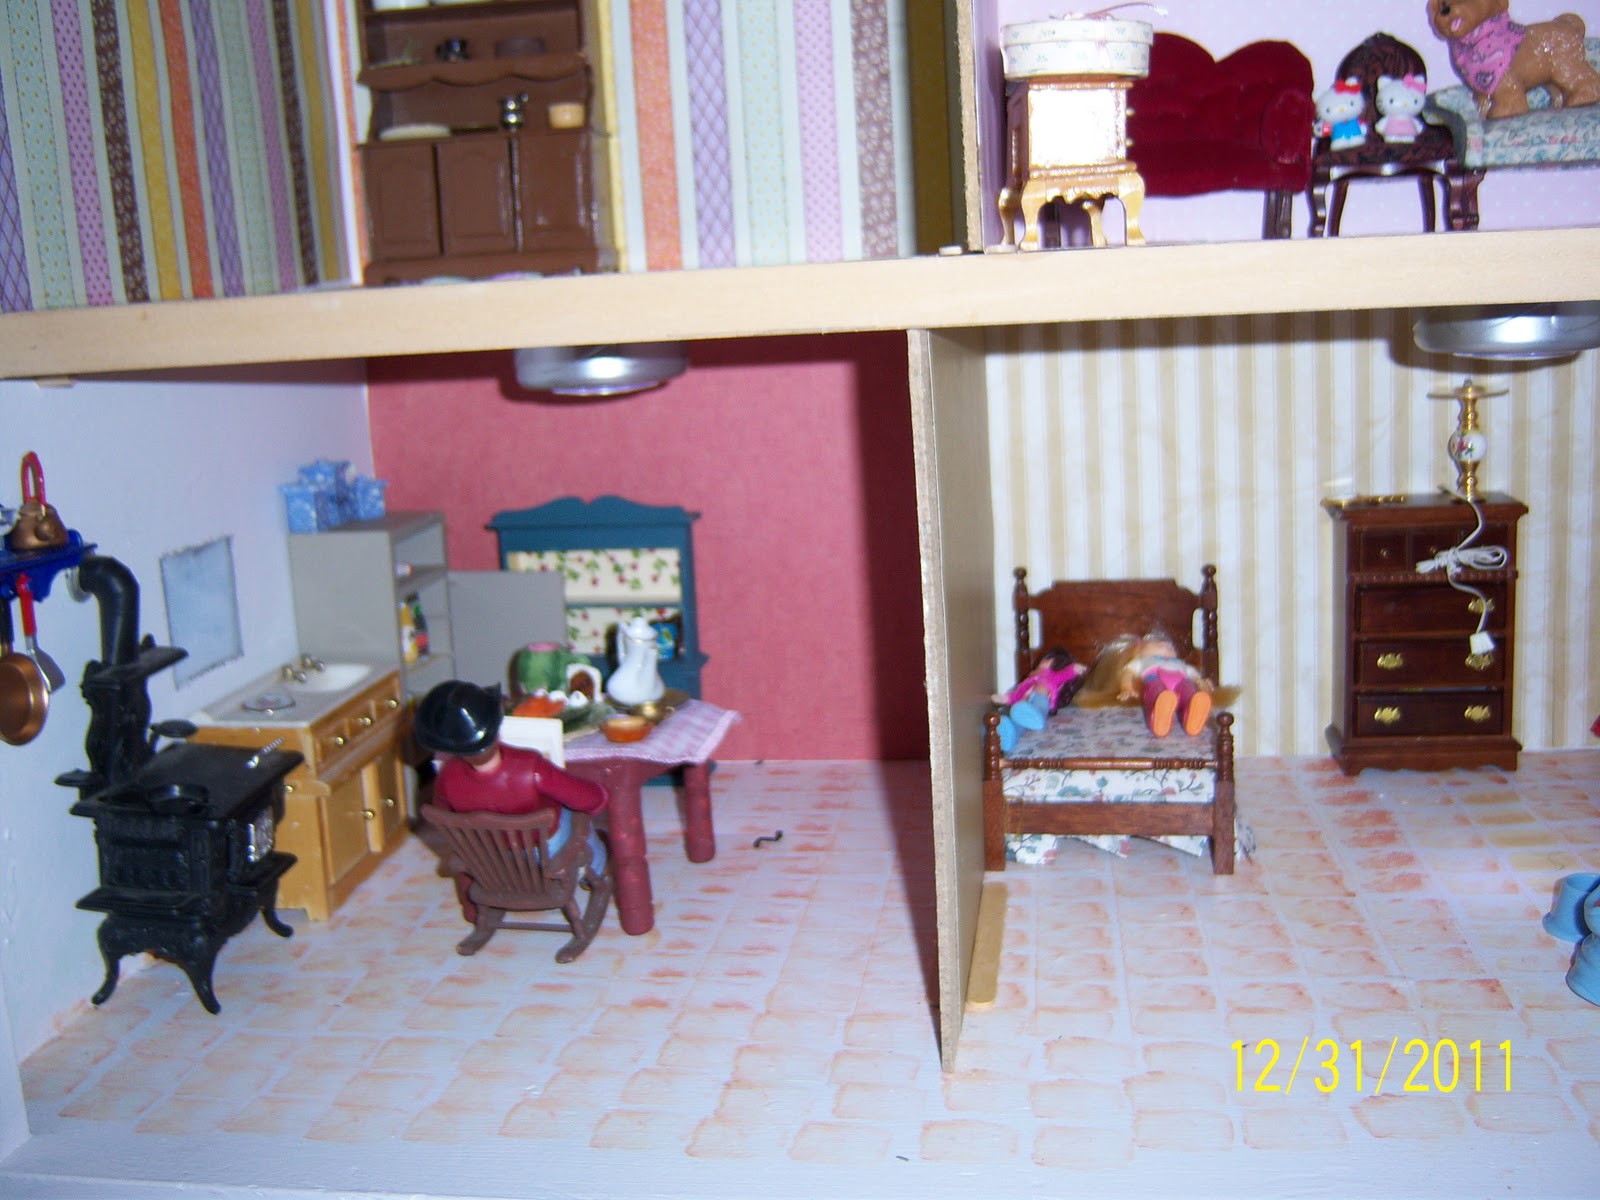
This is the year my granddaughters are old enough to have real doll house furniture, and miniatures to play with. I have kept this furniture in good condition over the years in hopes of passing it on to my granddaughters.
Checking on the prices of doll houses, I thought making one would be more cost effective. I scoured around seeing what shelving I already had which would make a good doll house. This doll house can be kept on the side of the wall not taking up too much room, since the shelf is sturdy.
I talked my husband into helping me, by cutting the top part of the dresser off the rest of the drawers.He also added , 3/4 inch ply wood boards for the different floors levels, also putting divides vertically to make the walls. Repainted the cupboard in the lightest pink hue.
I decided to paint the floors, in faux stones. Using a piece of sponge cut into small squares. Dipping it into paint, then outlining the sides with shading.
Instead of painting walls I purchased stock card paper in different designs, and used it as wall paper. Using rubber cement to glue down to the floors, and walls, this way it would not bubble the paper. It also allows for readjusting the paper if necessary.
The windows were not cut out of the sides since our wood working tools were limited, I painted on the out side faux windows, and on the inside I put curtains up on the wall. The ceilings are equipped with the portable battery operated stick em lights, to give enough light to play.
They are enjoying their new doll house, and furnishings.
Checking on the prices of doll houses, I thought making one would be more cost effective. I scoured around seeing what shelving I already had which would make a good doll house. This doll house can be kept on the side of the wall not taking up too much room, since the shelf is sturdy.
My daughter-in-law had this beat up child's chipboard dresser set.
I talked my husband into helping me, by cutting the top part of the dresser off the rest of the drawers.He also added , 3/4 inch ply wood boards for the different floors levels, also putting divides vertically to make the walls. Repainted the cupboard in the lightest pink hue.
I decided to paint the floors, in faux stones. Using a piece of sponge cut into small squares. Dipping it into paint, then outlining the sides with shading.
Instead of painting walls I purchased stock card paper in different designs, and used it as wall paper. Using rubber cement to glue down to the floors, and walls, this way it would not bubble the paper. It also allows for readjusting the paper if necessary.
The windows were not cut out of the sides since our wood working tools were limited, I painted on the out side faux windows, and on the inside I put curtains up on the wall. The ceilings are equipped with the portable battery operated stick em lights, to give enough light to play.
They are enjoying their new doll house, and furnishings.
Thursday, December 8, 2011
Children Christmas Crafts Child"s Apron
My granddaughters love to cook, especially baking, as soon as they see the flour, and sugar coming out of the pantry, they run to put their miniature aprons on. My granddaughter enjoyed helping to paint her apron. look at her face, as she models it, that tells the whole story.
Materials:
Wooden gingerbread cut out to trace
Textile medium Americana
Denim apron half yard denim materiel
Americana paints- honey brown, white, opaque red, black, hot pink, burnt sienna
Size 6 angle brush, liner brush
Water bucket for rinsing brushes
Paper towels.
White charcoal pencil
Pallet ( I use a white square ceramic glazed tile, a plate will work just as good)
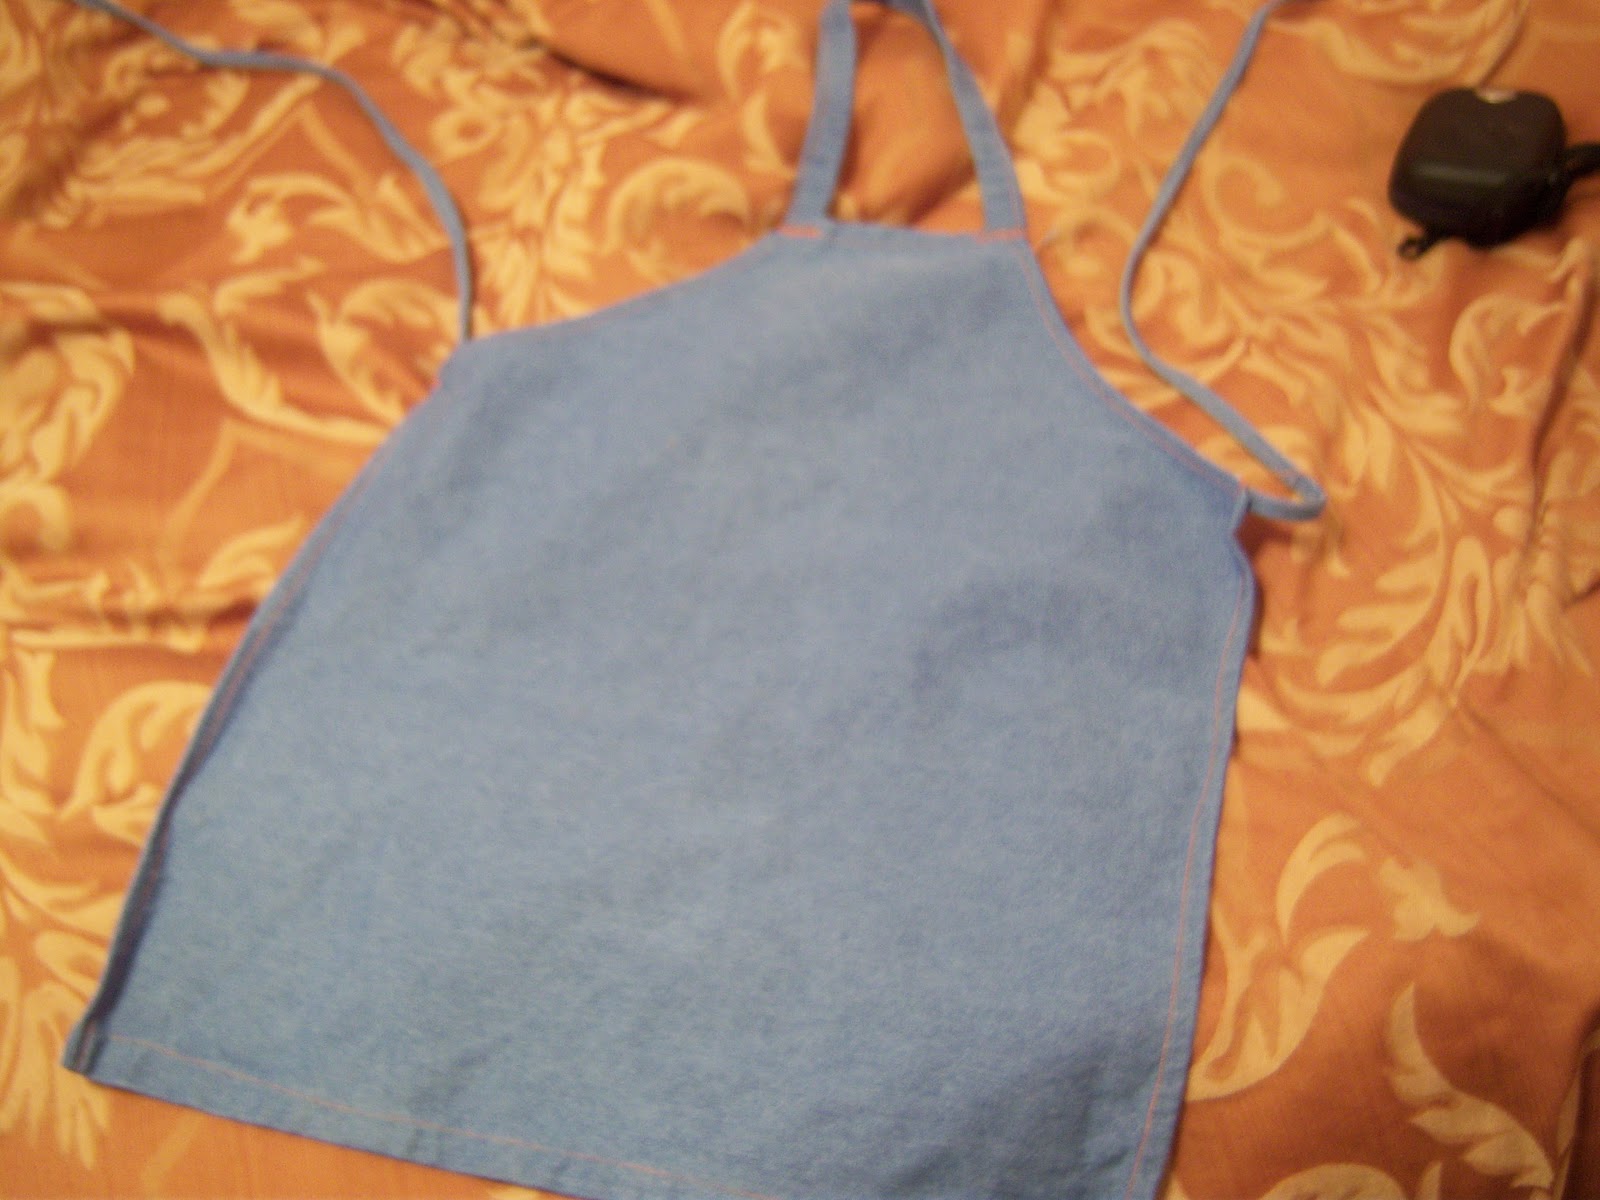
I made this simple denim child's apron, by turning down the raw edges. Making tie backs from remaining material pieces, and attaching a neck band.
Use the wooden cut out to trace the gingerbread on to apron. Use white charcoal pencil.
The white charcoal pencil will make it easier to see.
Dip your paint brush into the textile medium, then into the honey brown paint. Paint using your angle brush, along the line of the pattern.
While paint is still wet side load burnt sienna, on top of the honey brown, while it's still wet. It will blend easier.
Cheeks are done with hot pink.
Eyes are black (use the back of the paint brush dipped into paint from pallet.
White is thinned out with water until it's as thin as cream. Load your liner brush to paint the icing lines. Hold the brush straight up, move your whole arm in a sweeping motion. Pushing down makes thicker lines, lifting up on the brush makes thinner lines.
Lips and, buttons are drawn in black.
Hearts are done in red.
Hear are some other designs...Christmas Stars,Gingerbread Garland,Toy Soldiers.
Subscribe to:
Posts (Atom)